

Guide for organisation administrators
Set up your organisation, approve teachers, brand your site, add a custom domain and follow commission and earnings.
Who this guide is for
You administer one organisation on the platform. You approve teachers, brand and configure your site, and manage its catalogue and commission. You do not run any single teacher's day-to-day teaching.
Before you start
You are invited by the platform team rather than registering yourself.
Open the invitation link you were sent. You do not need to log in first.
Review your organisation's name and subdomain. You can change the subdomain now, and this is your last chance before it locks.
Choose a password, confirm it and select Activate account. You are signed in and taken to your admin console.
Next time, open your organisation's site and select Sign In.
Approve and manage teachers
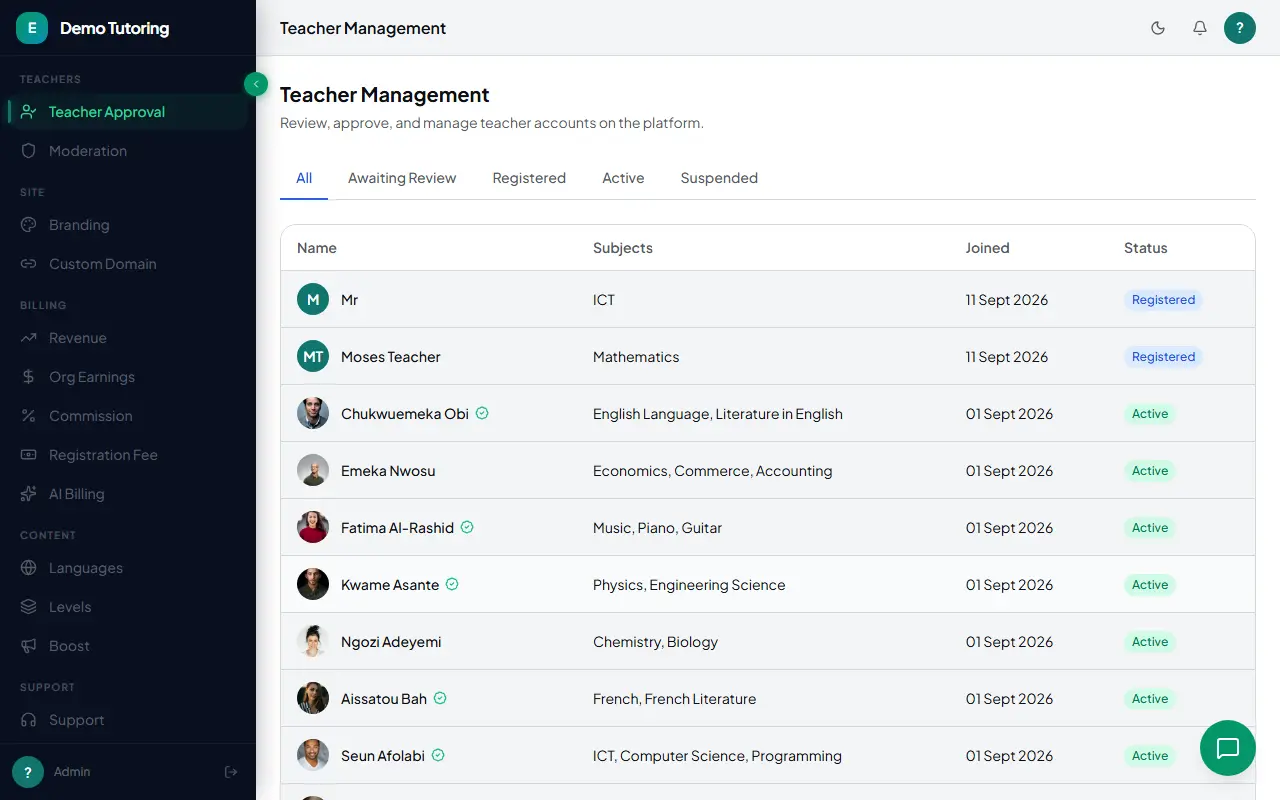
Open Teacher Approval. The page itself is headed Teacher Management.
Choose a status tab: All, Awaiting Review, Registered, Active or Suspended.
Select a teacher to open the review panel with their profile, bio, subjects, levels and qualifications. Use Full Profile for the standalone page.
Act from the footer of the panel:
Approve an applicant.
Request Info with a message, or Reject with a reason.
Suspend or Reactivate an existing teacher.
Brand your site
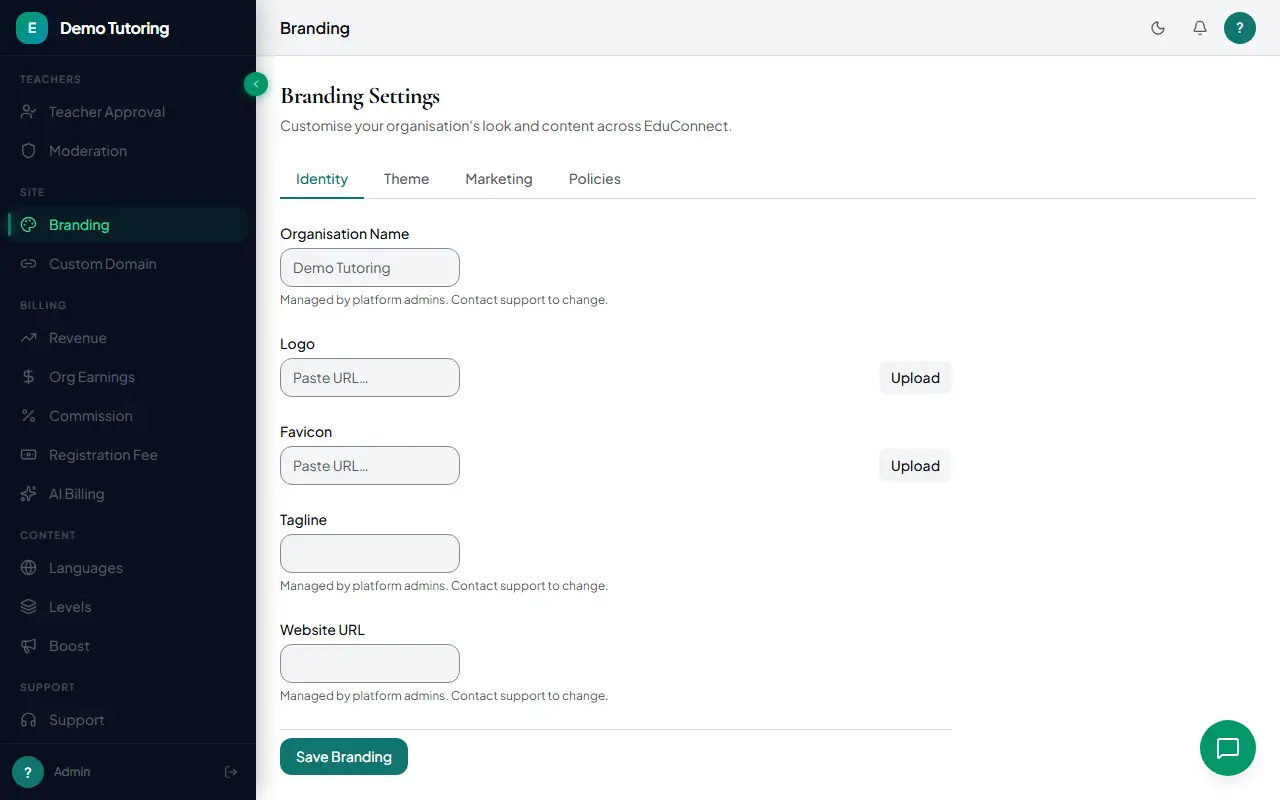
Open Branding under Site, and work through the tabs:
Identity: upload your logo and favicon. Your organisation's name, tagline and website are set by the platform and shown read-only.
Theme: pick primary and accent colours with a live preview.
Marketing: the hero title and subtitle, about text, footer text, contact details and social links.
Policies: the default language, currency, support email, and your Terms and Privacy pages.
Any text field offers AI Generate, Improve and Proofread. Select one to draft or polish the text. Terms and Privacy offer Improve and Proofread only. Select Save Branding when you are done.
Add a custom domain
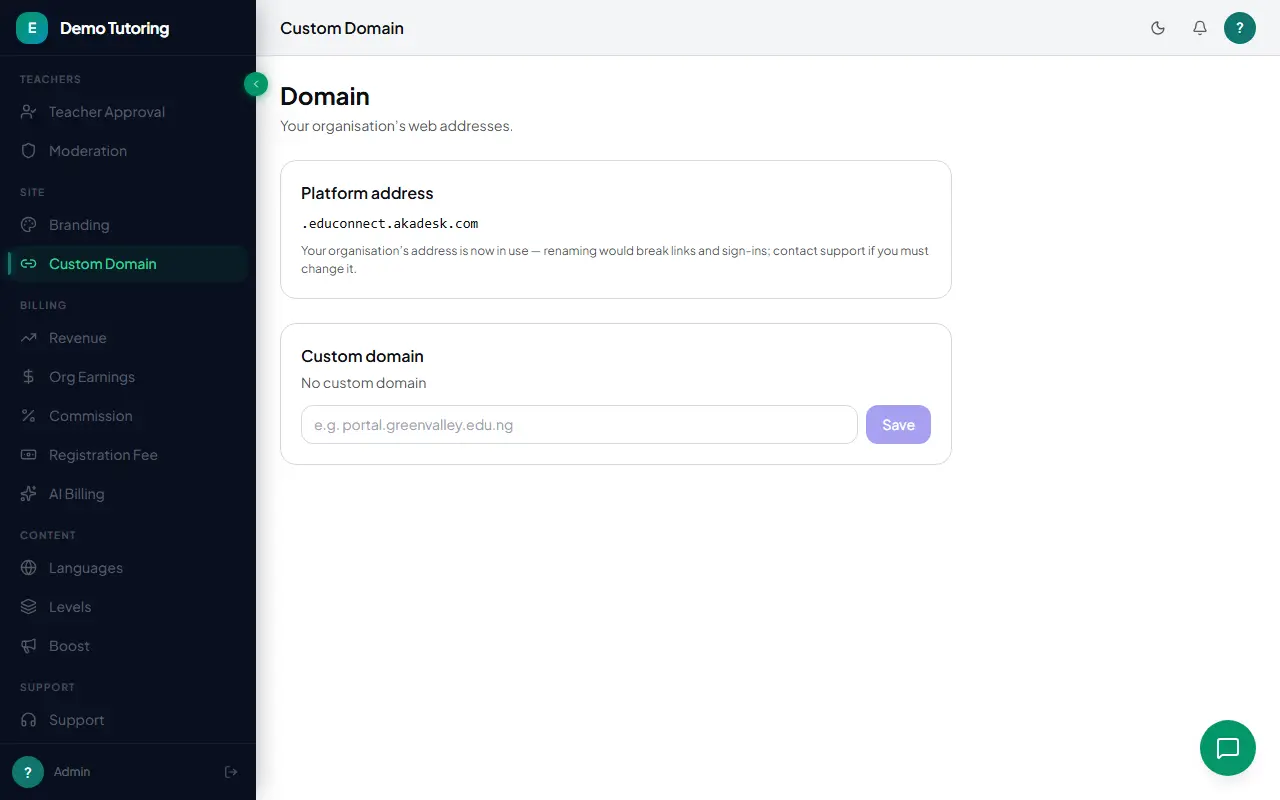
Open Custom Domain under Site, and enter your domain.
At your DNS provider, add the records shown: an A record for a root domain or a CNAME for a subdomain, plus the TXT ownership record.
Select Verify now. Once verified, a secure certificate is issued automatically and your site opens on your own domain. Use Remove to detach it.
Set your organisation's commission
Open Commission under Billing.
The platform's own cut is shown read-only. Enter your organisation's cut.
The teacher's share updates as you type: it is what remains after the platform's cut and yours. Select Save. A value that would push the total past the platform's ceiling is rejected.
Track earnings and payouts
Open Org Earnings under Billing to see your organisation's earnings grouped by currency, and a payout history with the period, currency, amount and status. Payouts appear here automatically.
Manage the catalogue
Languages: turn interface languages on or off, add a custom language (translated automatically when you save), edit its translations, or delete a custom language. English and French are always on.
Levels: manage the education levels on offer, each with a code, label, group, sort order and an enabled switch. Add, edit, switch or delete custom levels.
Boost: under Tier Config, set each promotion tier's label, description, active flag, slot limit and prices. Under Active Purchases, filter teachers' boost purchases and cancel any that are still active or pending.
Tips and common questions
How is a sale split? Every paid sale is shared between the platform, your organisation and the teacher. The teacher receives the remainder.
Where do I see my earnings? Under Org Earnings, in the Billing group.
Getting help
Open Support for the support dashboard, the live chat queue and tickets, or open Guide in the app.
Try it yourself in the live demo.